Thursday, 20 February 2014

Sketchbook

As my last posts involved sampling and producing the practical outcomes, I though today I would show the sketchbook research that I did to back up my outcomes. I really love laying out my sketchbook pages and making them look interesting, so here are some images of what I've been doing. There may be quite a few images as I produced quite a lot of sheet work so I tried out many different types of samples and the unsuccessful ones ended up in my sketchbook!


It would be a very long post if I decided to include every single page of my sketchbook so I just included some of my research and sampling. 

Saturday, 1 February 2014

Embroidery Experimentation

As I'm on a role with my posts today I thought that I may as well show my embroidery samples as well! I do love the whole Textiles subject but my favourite discipline has to be embroidery. I used different techniques for these embroidery samples, but along with everything else that I do they could be developed further yet. I used hessian, lace, wool,netting and water soluble fabric to produce these samples. I was inspired by surface texture so I used french knots and wool to create a three dimensional feel to the samples. 


I added felt fibres to add colour but also to add another material to produce a textured surface. I used water soluble fabric as it dissolves to leave only the stitching behind and I really like the effect of this. I also finished off the hessian samples by using a soldering iron to burn holes through the fabric. 

Print Experimentation

On my last post, I said that this post was going to be my print experimentation... so here it is! I produced some heat press prints in an earlier post using berries and other natural dyes and I really liked the effect of it so I thought that I would use the same technique but using different produce. I used handmade paper, flowers, berries, plums, apricots and onions to create these. Also I added a hand knitted sample in to one of the prints and thought that this brought together the print and knit rather than them being separate disciplines. I wanted the colours to look quite earthy and brown so I kept putting the same prints back in to the heat press so that the fruit burnt almost and gave me the colour that I was looking for. 


The smaller prints that I produced, I will be stitching in to them with either blue or grey thread so that the colours compliment the knit samples that I did. I will be mounting the smaller ones after I've stitched in to them on to white card just like in the top image. 

The next post will be my embroidery samples...

Knit Experimentation

It's been a few weeks since I last posted but I've been stressing over University interviews and my portfolio preparations but that's all okay now, so I thought I would show what I've been working on for the past couple of weeks. In my last post, I finalised part one of the 'Inside Out' project by going to Spode for the location shoot and photographing the skeletal garments there. I have now moved on to part two which means that I can really experiment and bring my own individuality into the next part. I planned to do a lot of sampling using a variety of techniques. I was going to do a week of embroidery, print, and knit and maybe weave but it depends how it works out. I have done my knit and print, and also embroidery so I will do a few separate posts or else this one would be too long! I started of with the knit, as I wanted to experiment using my knitting machine but also see how hand knitting would work. Here are some images of what I produced...

Hand knitted - wool and  plastic and also leather added in.
Machine knitted piece dyed using the heat press and ink and also natural dyes including berries.

Machine knitted piece.
Machine knitted piece - Edited image.
These are all the knitted samples that I have produced so far using both hand and machine knitted techniques. I put the machine knitted pieces into the heat press to make them thinner but also to dye them. The texture of the wool really changed after it had been added which create an effective surface texture, which is what I was inspired by anyway.

My next post will be based on the prints that I have been producing using natural dyes...

Friday, 3 January 2014

Spode - Location Shoot

I finished my skeletal structures and took them to Spode for a location shoot. It is an empty vast space with amazing surfaces everywhere you look. I did take a lot of images some being more successful than others but that's all part of the process. I have edited quite a few of them and that's what I am going to share today. The overall look of my images was quite ghostlike as the flash on my camera created this as the room was dark. I found chains hanging from the ceiling and added my hangers and garments on to those to create an installation almost. Also, the fabric and netting that I used created a different and unusual effect in the images. Photoshop was used in editing my images, but I still haven't decided which ones I will use as finals. I haven't added all of the images or else there would just be way too many. The images looked a lot better in black and white so I changed them and played around with the brightness, contrast, saturation etc until I was happy with the results. 


Saturday, 30 November 2013

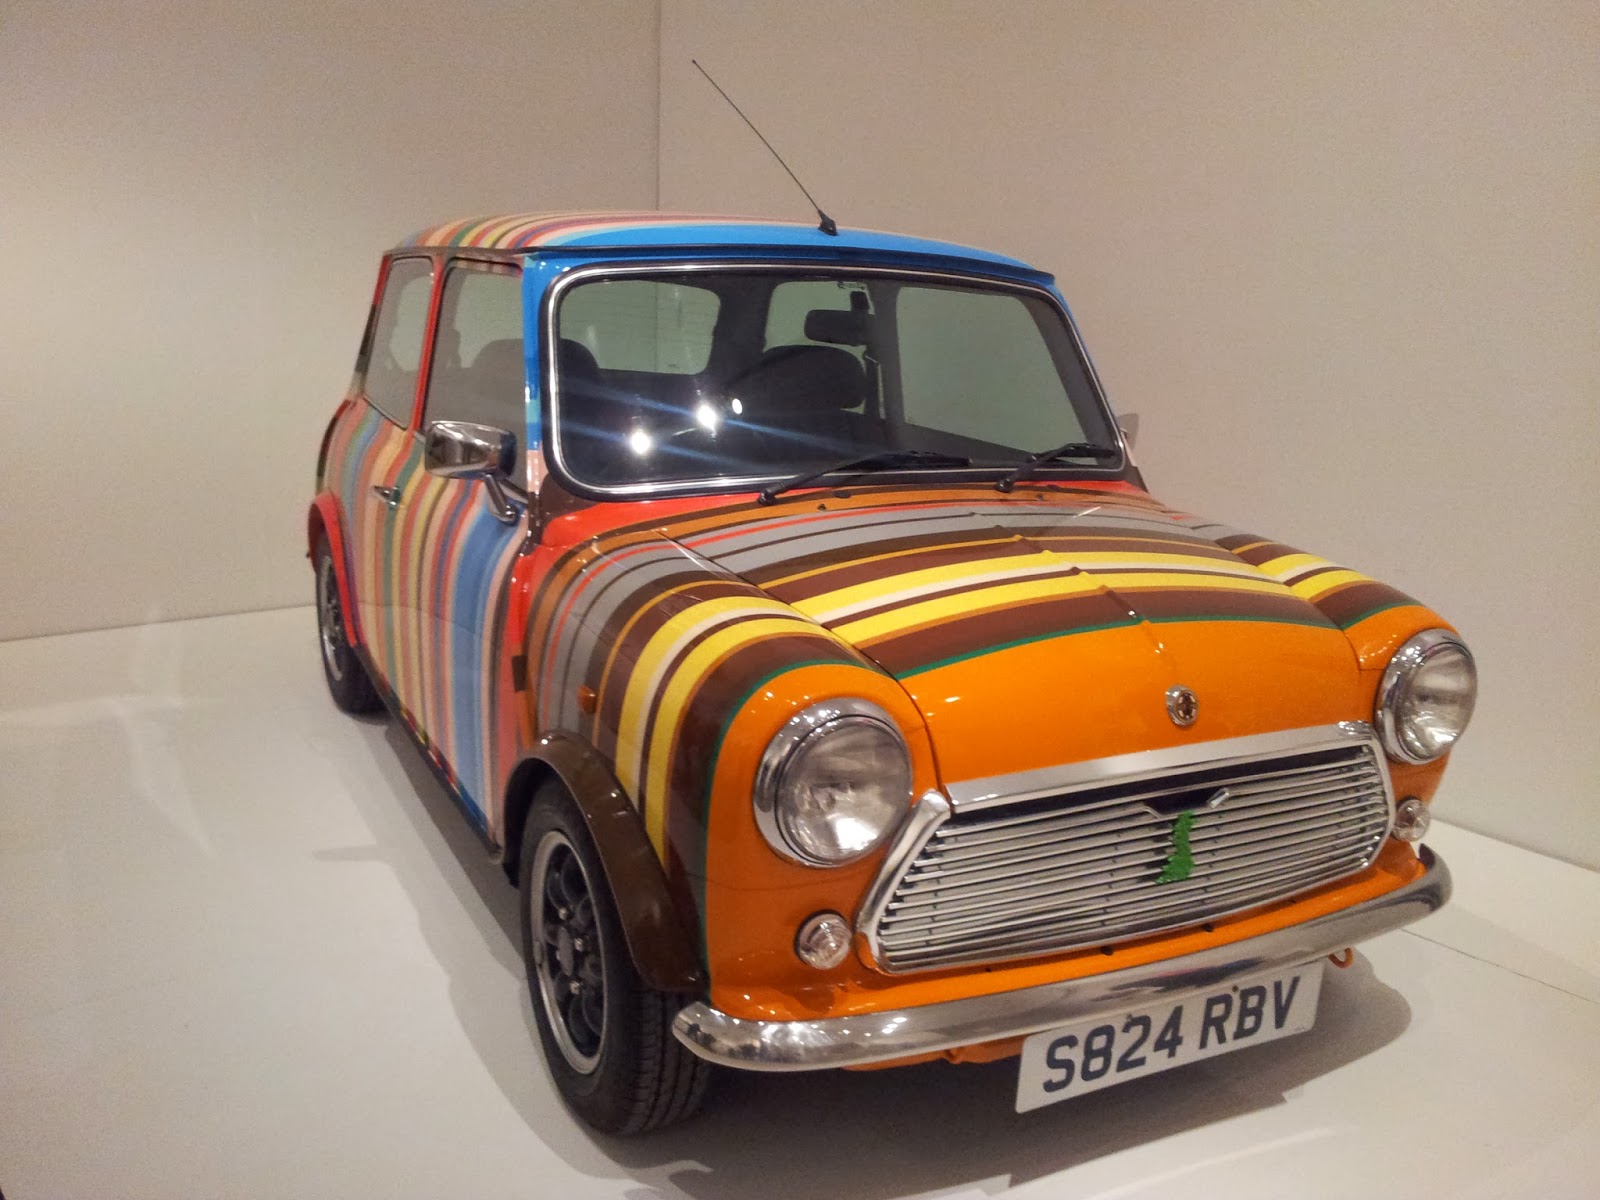
Paul Smith Exhibition - Design Museum

I recently visited London and wanted to share some of the images from the Paul Smith (Hello My Name Is Paul) exhibition as I thought that it was very interesting to see the processes that his work went through to get to the finished stage. I thought that the exhibition was very inspiring as it showed the thoughts that Paul Smith went through to produce his designs.


I especially loved the part of the exhibition with all of his sketchbooks, mood boards and samples etc as it showed me to industry standard, and also it relates to what I am working on at the moment. 

Friday, 15 November 2013

Collars and Shirts

For this textile project, I am looking at garments and turning them 'inside out'. Cutting away all the fabric to leave only the seams behind. I have only just started so I have a few different starting points that I would like to try but that will come with development and sampling of ideas. I am going to be looking at decay and wearing away, so my garments will start off as a whole and gradually be left with only the collar. It will seem clearer with images. I am going to be using the heat gun as this really makes fabrics looks different and individual but also gives them a great textural effect. I am using wire hangers to hang my garments as I think that this works best for my style of shirts but also the textured effect from the fabric being burnt and melted down. Eventually when I am finished I will be taking my finished garments to a location to shoot them with a textured background. These skeletal structures will really work with old, peeling paint or something similar in the background. Also for part two of the project I will be using all the fabric that I cut away to use in experimentation and to bring the 'outside in'. I am very much looking forward to this project as I think it can be pursued in many different and exciting ways. This is only my starting point but it will be progressed a lot further. 

Before
After